Testimonial Section

Testimonial Section

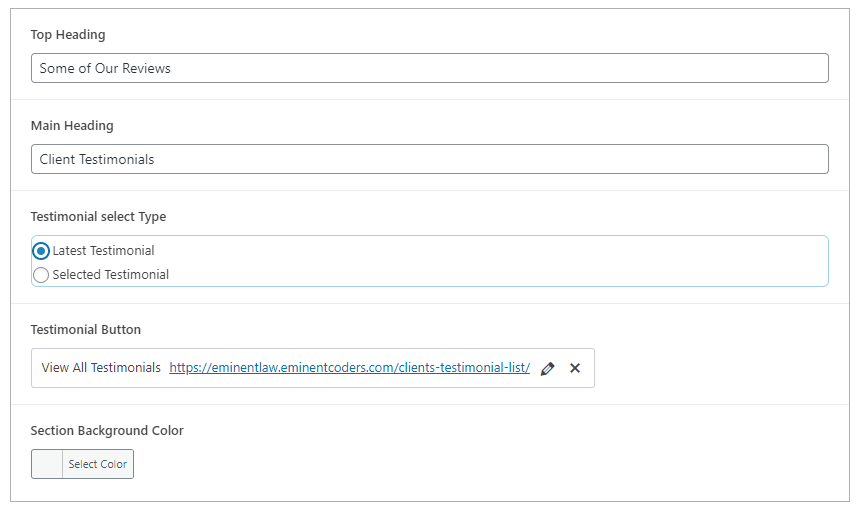
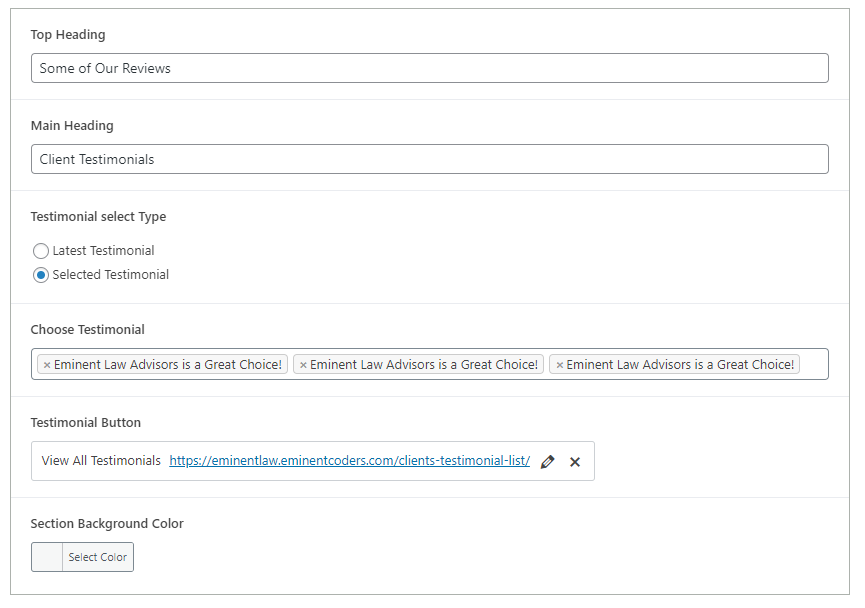
The Eminent Law Theme offers a flexible and user-friendly Testimonials section that allows you to showcase customer reviews or testimonials effectively. This section is highly customizable, letting you choose the testimonials to display, set a custom heading, add a button, and select a background color that fits your website’s design.

Steps to Add the Testimonials Section:

1. Add the Custom Testimonials Block:

  • From the WordPress dashboard, go to ‘Pages‘ and select the page where you want to add the Testimonials section or click ‘Add New‘ to create a new page.
  • In the page editor, click the ‘+‘ icon to add a new block, search for the “Testimonials” block, and select it.

2. Customize the Testimonials Section:

  • Heading: Enter a custom heading that will be displayed at the top of the Testimonials section.
  • Testimonial Type: Choose how you want to display the testimonials:
  • Latest: Select this option to automatically display the last 9 testimonials added to your site.
  • Selected: Choose this option to manually select which testimonials you want to showcase. You can pick from the existing testimonials in your library.
  • Button: Add a call-to-action button, if desired, to direct visitors to another page.
  • Background Color: Select a background color for the Testimonials section to match or contrast with your site’s overall color scheme.

Backend Fields For Latest Testimonial

testimonial-latest

Backend Fields For selected Testimonial

image

3. Create and Add New Testimonials (Optional):

  • If you need to create new testimonials, navigate to the WordPress dashboard, select the ‘Testimonials‘ post type, and click on ‘Add New‘.
  • Fill in the testimonial details, including the customer’s name, their review, and any additional information you’d like to include.
  • Publish the testimonial, and it will be available for selection or will appear in the “Latest” option if applicable.

4. Review and Publish:

  • After customizing the Testimonials section, review the layout to ensure it fits your design preferences.
  • Once satisfied, click ‘Publish‘ to make the Testimonials section live on your page.
image

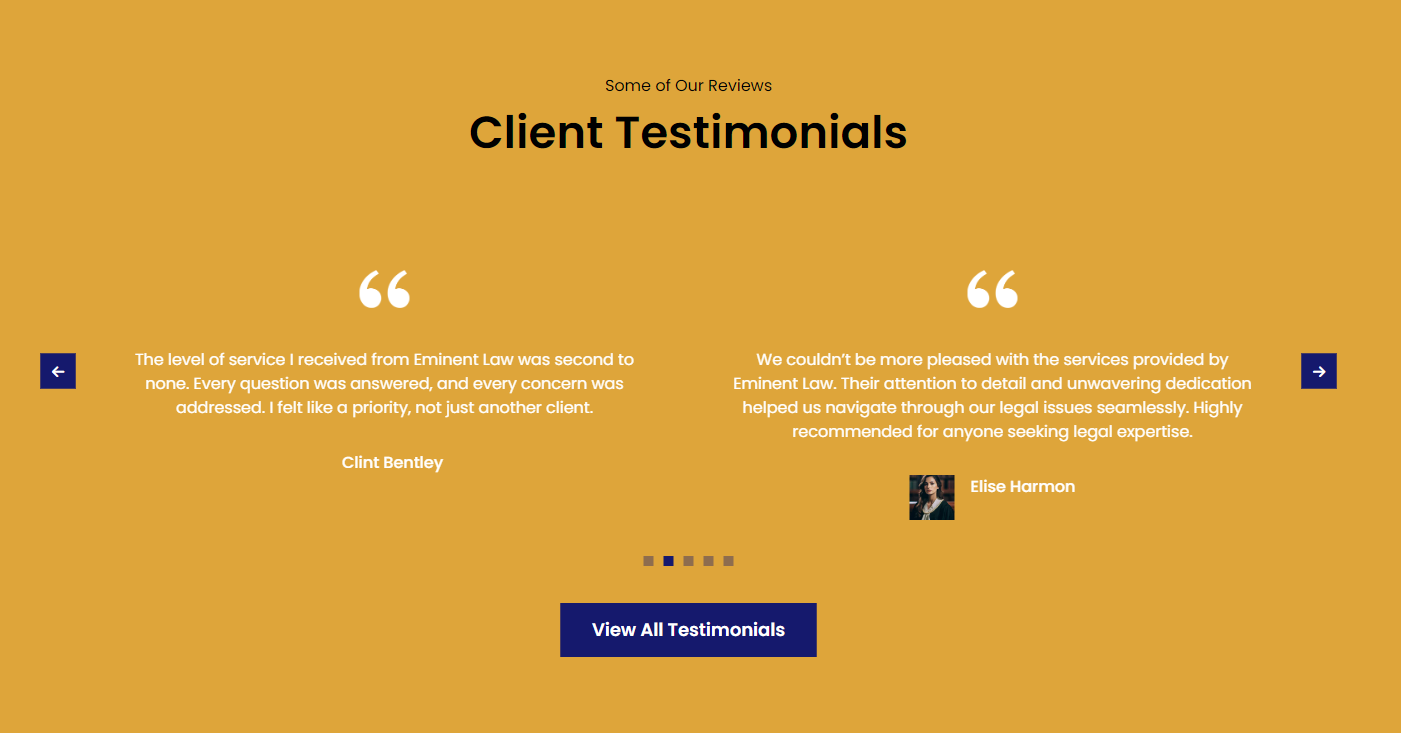
By following these steps, you can effectively use the custom Testimonials block to showcase customer feedback, adding credibility and trust to your website.

Did this answer your question?